Embracing Scanning Technology: A Leap Forward in Timber Processing
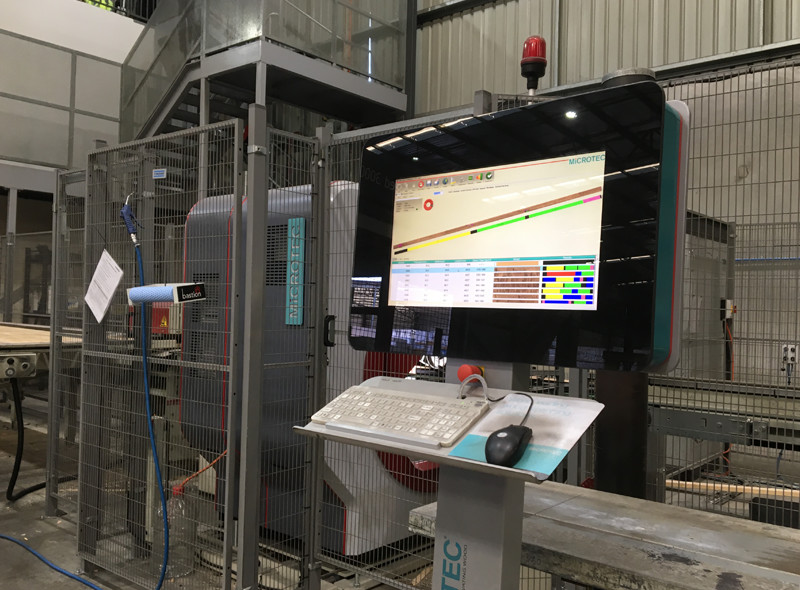
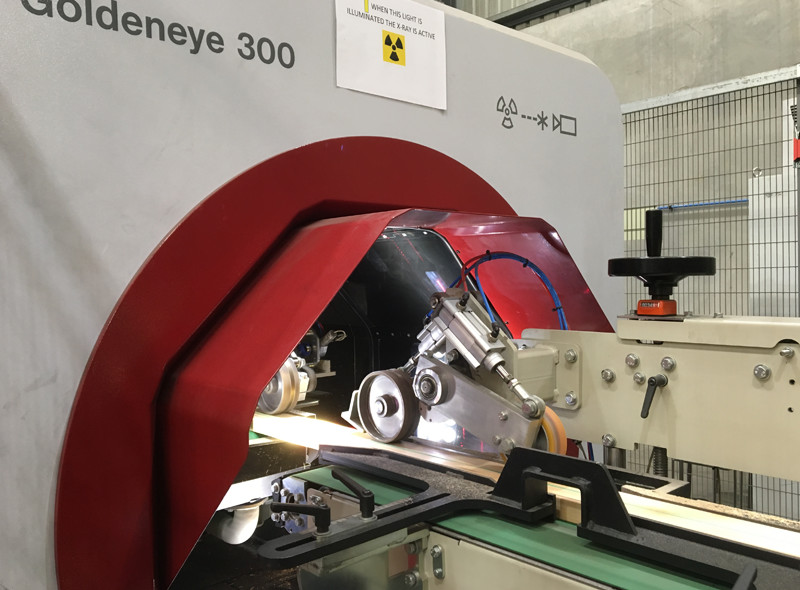
Last year marked a significant milestone for our St Marys processing facility by installing a Microtec Goldeneye scanner on our main component docking line. This is where the quality of our product is initially determined.
The Shift from Manual to Automated Grading
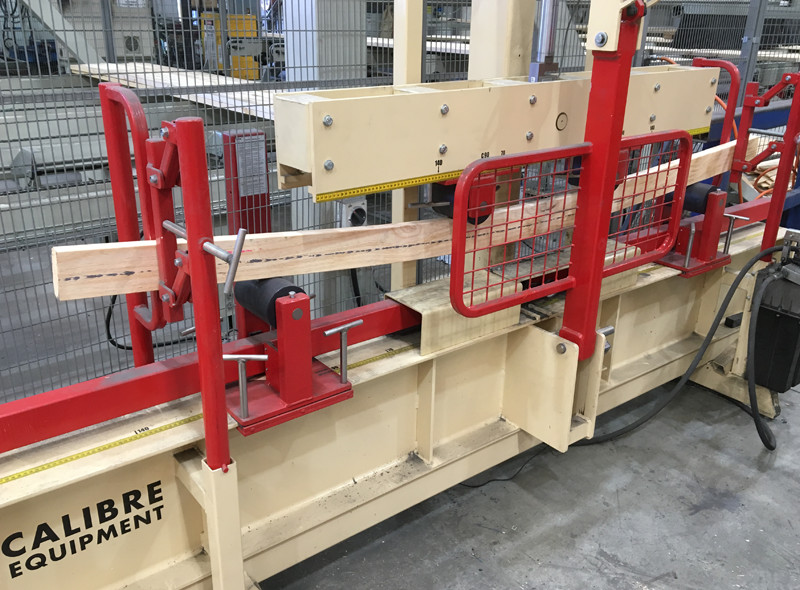
Traditionally, most of the timber grading for components was done visually by highly trained and qualified graders. They would mark boards with a luminescent crayon, which a camera would then read. The saw software would determine a cutting pattern based on these markings and cut accordingly. This method was popular with our customers as our operators were top performers.
However, replacing manual grading with technology was primarily driven by increasing customer demand. The need for a second production shift became apparent as demand for our products grew. It would have been unreasonable to expect the same high quality of performance from staff working irregular hours or on weekends.

The Integration of Scanning Technology
The main docking line already consisted of a high-speed, high-accuracy saw from the internationally recognised company, System TM. The decision to incorporate scanning technology into that line was a significant commitment in capital, but the benefits would be considerable.
Timber samples were shipped from the St Marys plant to the Italian factory of Microtec for initial fibre analysis to ensure our quality demands were met. This was followed up by Programmed Timber Supplies staff travelling to northern Italy to oversee final preparations before shipment.
As the volume capacity of the line would increase significantly, additional handling equipment was also required. System TM was able to design, manufacture and install pack transfers, vacuum lifting equipment, and feed drives to and from the Microtec Goldeneye scanner.
The Benefits of Scanning Technology
The scanner incorporates an X-ray function that allows a continual reading along each infeed board of density and internal knot structure. Density in radiata pine can indicate stiffness, the timber property that often determines the grade suitability for application. Density is measured excluding knots. Knots are more dense than the surrounding wood fibre but generally don’t improve performance. Nail and screw holding capacity is also related to density. Our structural grade has certainly improved in consistency, even though there were no performance issues previously.
The scanner also utilises two different laser functions. One can measure the grain angle or slope of the grain. This is a determining factor in structural grade analysis. The other allows each board to be accurately measured for width and thickness and for damaged or missing edges (want & wane). There are limitations within the structural grade rules around these measures. Splits, cracks, voids, gum pockets etc., are also detected.
A significant advantage of measuring this ‘missing’ wood is in our truss web production. Timber grade allowance is usually more liberal than what is required in nail plate specifications. All our F7 grade truss webs now meet the nail plate tolerances on the ends where they will be plated but can have the timber grade allowance in the centre portion. This difference is not highly visible but important when we commit to offering a ‘fit for purpose’ product.
Components used in furniture manufacture benefit from being scanned this way to avoid problems when they are eventually upholstered or exposed to mattresses, so tearing of fabric is eliminated.

Two different cameras take constant images along each board. One takes a colour image, and the other is black & white. Interestingly it is the black & white image that can offer significant information. Knots and other defects can be identified, measured and assessed more accurately. The colour image generally lets us know what the board looks like when the customer requires an appearance criteria.
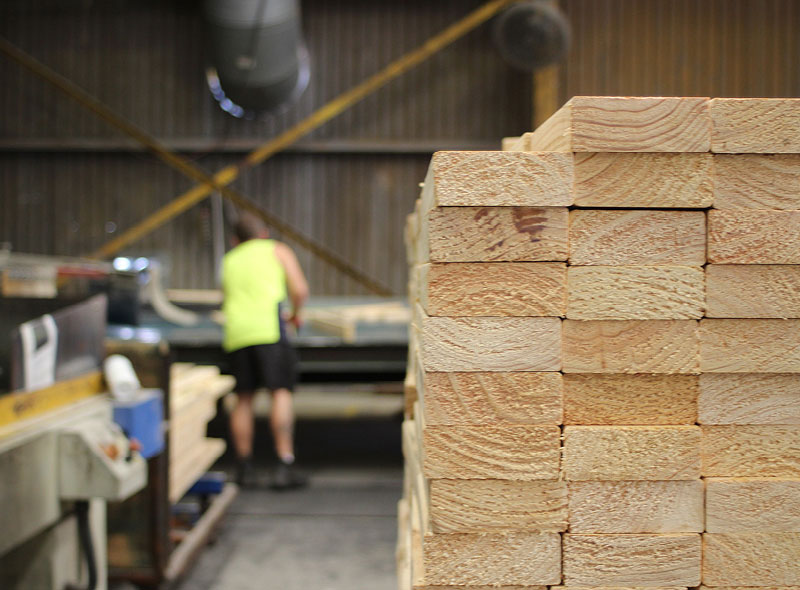
By knowing all the above information, the optimisation software will determine how the saw will cut each infeed board. Any component used in the final application that will be nailed or plated on the ends can be cut defect-free in the ‘end zone’. Great for truss webs, as mentioned, but even better for wall nogs or truss trimmers where a nail will be shot into the end grain. Our nogs/trimmers can be ordered with this quality. Although usually a very utilitarian-looking component, it is now truly ‘fit for purpose’. Think about the reduced risk of injury in the fabricator’s plant or the carpenter using nogs as a ladder on-site.
Furniture components where holes or T-nuts will be inserted at some specific point on the board can be nominated so defects will not be located in the critical sections. Likewise, a consideration for a point load can be accommodated in structural components.
This type of scanning technology is used in some of the major sawmilling operations in Australia. None other, though, is used for preparing and producing the wide range of components where actual customer specification is required.

